Table of Contents
- Why Moss Grows on Palouse Roofs
- Identifying Moss and Assessing Growth on Your Roof
- Best Time to Treat Roof Moss
- Roof Moss Treatment Methods That Work
- Moss on North-Facing Roof Slopes: Special Considerations
- Roof Moss and Water Damage: What You Should Know
- Safety First: Roof Work Guidelines
- Preventing Moss Regrowth
- Frequently Asked Questions
Last Updated: October 12, 2026
Why Moss Grows on Palouse Roofs
Roof moss treatment matters here because moss thrives in exactly what the Palouse provides: shade, moisture, and mild winters.
Moss needs moisture, shade, and an organic surface.
North-facing slopes are moss magnets. They stay shaded most of the day, so moisture lingers.
Palouse winters play a role too.
The longer moss sits, the thicker it gets, and thick moss holds even more moisture against your shingles.
Identifying Moss and Assessing Growth on Your Roof
Moss looks like a fuzzy green or gray-green coating, soft to the touch, growing in patches or blankets across shingles.
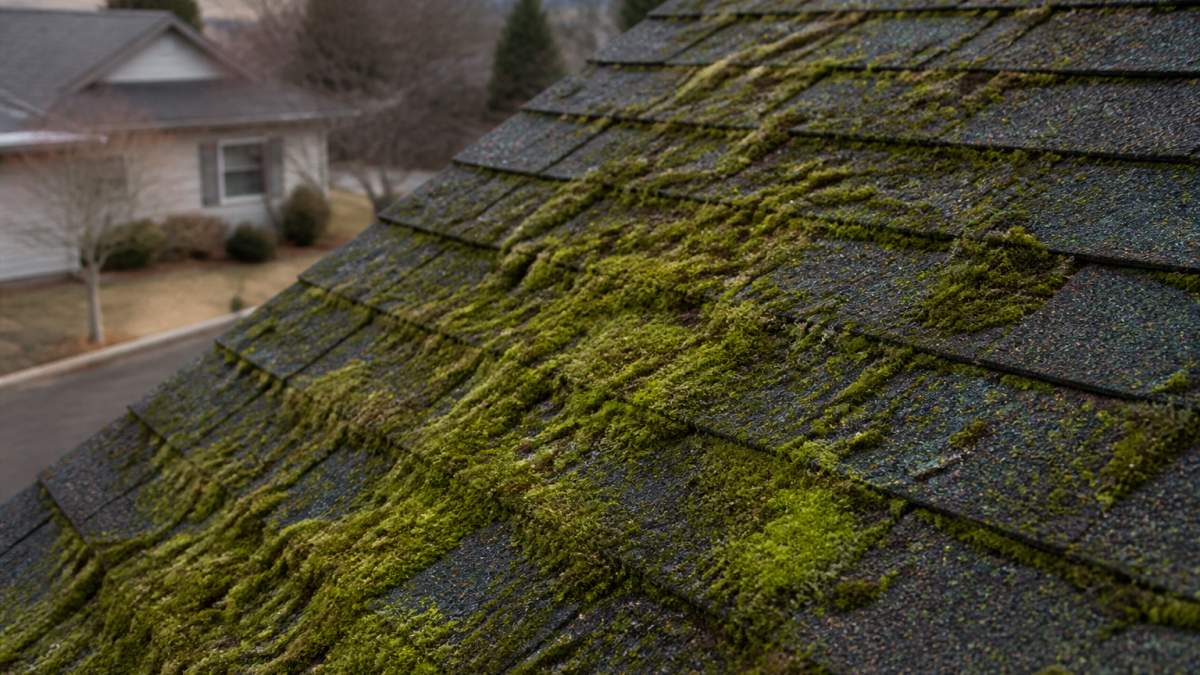
Look for these signs:
- Soft, spongy growth on shingles (not hard or crusty)
- Green or gray-green color, sometimes with brown patches
- Growth concentrated on north-facing slopes or under tree branches
- Thicker growth in valleys and low spots where water pools
To gauge coverage: light moss covers less than 25% of visible shingles, heavy moss more than half, moderate in between.
Check thickness too.
Note where it’s thickest. Moss grows fastest in shade, so if the heaviest growth sits under a branch, trim that branch back to slow regrowth.
Best Time to Treat Roof Moss
Spring is the ideal time for roof moss treatment on the Palouse.
Treat after the heavy rains end but before summer heat dries things out.
Fall is your second-best window. September through October works well, and treating then prevents heavy spring growth.
Avoid treating during heavy rain, since treatment needs time to work before it washes away, and avoid temperatures below 50°F.
Summer works if you must, but dry conditions slow the treatment.
Roof Moss Treatment Methods That Work
Roof moss treatment on the Palouse comes down to two application styles: liquid sprayed with a pump sprayer, and powder or granular spread dry. Both kill moss, which then dries, loosens, and weathers off over weeks. Neither is a removal service where we scrape the roof clean in one visit, and neither is ever a pressure washer.
Which method fits depends on your roofing material, how thick the moss is, and whether you’re comfortable going up there.
Matching the Treatment to Your Roof Material
Not every product plays nice with every roof. Read the label and confirm it’s approved for your material first.
- Asphalt shingles. The most common roof here and the most forgiving. Both methods work, though liquid is gentler on older shingles. Never scrub shingles with a stiff wire brush.
- Metal roofs. Metal sheds water fast, so moss shows up in seams, pans, and anywhere leaves collect. Liquid sprayed into those seams works well. Avoid abrasives that scratch a painted finish, and don’t walk metal in the heat of the day.
- Tile and concrete roofs. Both methods work, but the texture gives moss roots plenty of nooks, so expect a slower die-off and possibly a second treatment next season.
- Wood shakes and shingles. The most delicate option, since wood holds moisture. Use a product labeled for wood, keep the concentration gentle, and expect shakes to stay damp longer. If they’re already soft or crumbling, call a qualified roof repair company.
If you’re not sure what’s up there, have someone look before you buy product. Me And My Truck treats moss on Palouse roofs and can tell you what you’re working with.
Applying Treatment with a Pump Sprayer
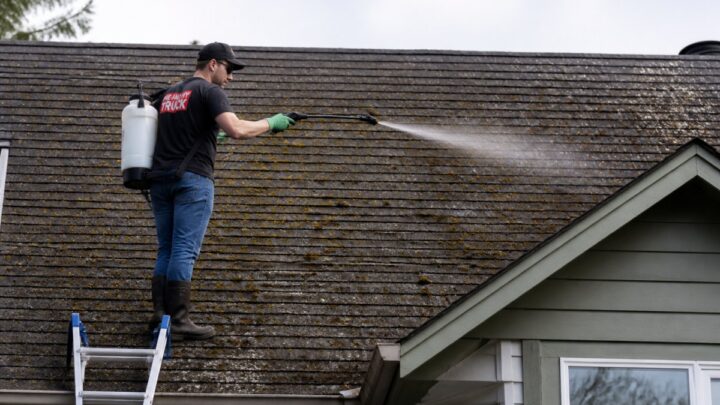
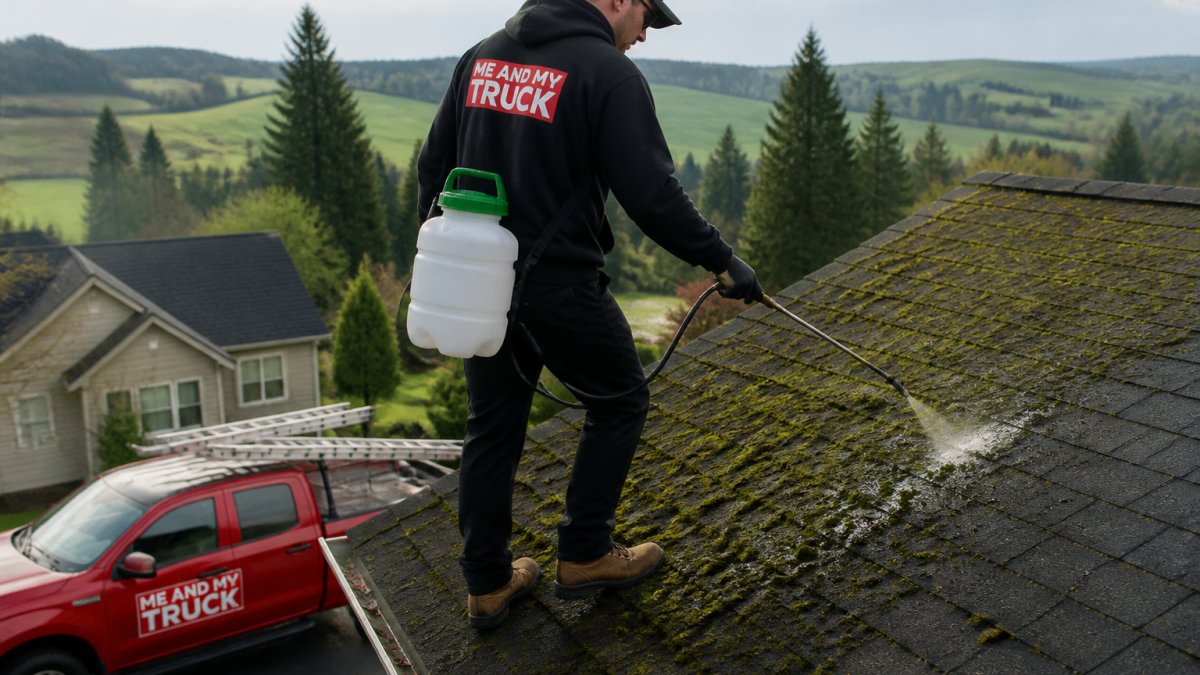
A pump sprayer puts liquid treatment exactly where you want it. Fill it, pressurize it, and spray the mossy areas; the liquid soaks in and kills moss from the inside.
- Mix to the label’s dilution exactly. Stronger isn’t better, just more runoff.
- Start high and work down so you’re not walking through freshly sprayed shingles.
- Use overlapping passes; missed strips mean missed moss.
- Saturate the moss until wet through, but stop before it runs off in sheets.
The moss darkens and softens over the next days and weeks, turning brittle and breaking apart. Don’t expect a clean roof the next morning.
Using Powder or Granular Treatment Products
Powder and granular treatments go on dry and activate slowly each time moisture hits them, stretching the kill window out longer.
- Spread evenly with a lawn spreader or by hand, covering the whole mossy area without dumping product in one spot.
- Let rain and dew activate it; a dry spell right after slows everything down.
- Expect visible results over two to four weeks, longer on damp north-facing slopes.
Granular is friendlier if you’d rather not carry a sprayer up a ladder: less messy, no mixing. The trade-off is speed and control, since granules are harder to keep out of gutters and off the ground.
Protecting Plants, Gutters, and the Ground Below
This is the part most guides skip, and it matters most on a Palouse lot with mature landscaping.
- Cover or wet down plants under the drip line before you start, and rinse again after.
- Keep treatment out of gutters. Granules and liquid collect in the trough and can stain or corrode it. A pre-treatment gutter cleaning by hand, with debris hauled away, keeps the runoff path clear. Me And My Truck handles that if you’d rather not get up there twice.
- Watch the downspout exit. Move potted plants, keep pets and kids away from the splash zone for a few days, and don’t let runoff pool against the foundation.
- Mind the storm drain. On a city lot, sweep up stray granules before they wash to the curb.
A Ground-Based Workflow When You’d Rather Not Go Up
You don’t have to walk the roof to treat it. A pump sprayer with an extension wand, or a granular spreader used from a ladder on stable, level ground, reaches a surprising amount of a low-slope Palouse roof. Work in dry conditions, keep three points of contact, and stop when the reach gets sketchy. If the pitch is steep, the roof is high, or moss is heavy on a north-facing slope, hand it off.
Moss on North-Facing Roof Slopes: Special Considerations
North-facing slopes are moss central on the Palouse. They stay shaded, hold moisture, and rarely dry out. Expect moss there first and thickest.
Treatment on north-facing slopes needs extra attention. The shade that grows moss also slows drying, which gives treatment more time to work but means regrowth happens faster.
After treating a north-facing slope, focus on prevention.
If moss is heavy, treat north-facing slopes twice a year: spring tackles the year’s growth, fall prevents thick winter growth.
Roof Moss and Water Damage: What You Should Know
Moss doesn’t drill a hole in your roof. It holds water against the shingles, and on the Palouse that slow soak does more damage than most homeowners expect.
Moss behaves like a sponge. It soaks up spring rain and morning fog, keeping shingles underneath damp for days after the rest of the roof dries.
Palouse winters add a second punch. Freeze-thaw cycles push water into those cracks, freeze, expand, and widen them.
Loess dust is the third piece.
What Moss Actually Damages
- Shingle granules. The first thing to go. Without them, asphalt bakes in summer and cracks in winter.
- Valleys and low spots. Debris and moss collect, water pools, and the underlayment takes the hit.
- Gutters and downspouts. Moss chunks and granules clog the trough, water backs up under the eave, and the fascia rots. That’s why a pre-treatment gutter cleaning by hand, with debris hauled away, is worth doing.
- Flashing and penetrations. Moss against a vent boot or chimney flashing keeps the joint wet and speeds up sealant failure.
Treatable Moss vs. Damage That Needs a Roof Repair Company
Here’s a simple way to think about that line.
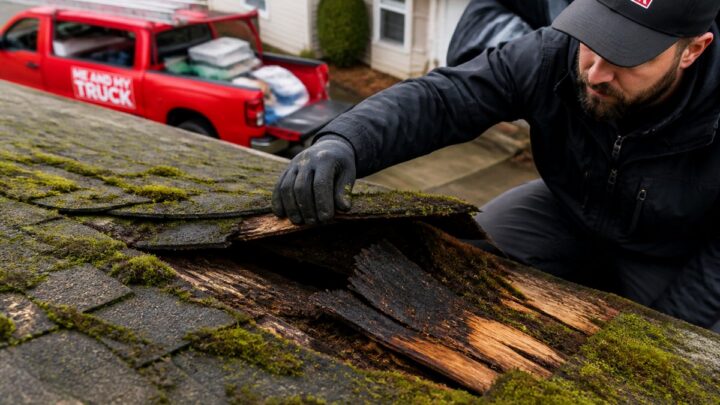
Treatable. Fuzzy green or gray-green growth sitting on top of shingles, moss in valleys that brushes off easily, light growth on a north-facing slope, and shingles that are still flat, still have granules, and still feel firm.
If you’re not sure which side of the line you’re on, have someone look. We point out what we see so you can call a qualified roof repair company if repairs are needed.
After Treatment: What to Expect and When to Look
Dead moss doesn’t disappear overnight. It dries, shrinks, and loosens over the weeks after treatment, and rain and wind finish the job. On a shaded north slope, expect that to take longer, sometimes a full season.
Once the moss has weathered off, inspect. If you see the damage signs above, call a qualified roof repair company. If the shingles look sound, you caught it early and the treatment did its job.
Safety First: Roof Work Guidelines
Roof work carries real risk.
Safe roof work starts with dry conditions. Never go up on a wet or damp roof.
Wear soft-soled shoes, make sure of good footing before each step, and move slowly.
Don’t go up if you’re not comfortable. There’s no shame in that.
Call or text (208) 882-5641 or send a photo for a free quote.
Preventing Moss Regrowth
Treatment kills existing moss, but new moss returns if conditions stay the same.
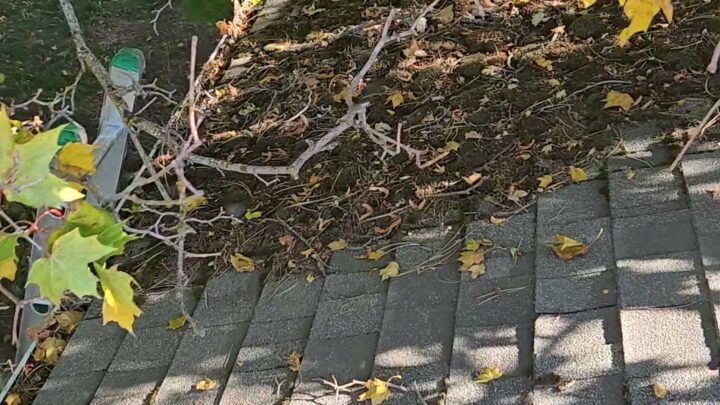
Trim branches that overhang the roof. Sunlight is moss’s enemy, and even partial shade reduction means faster drying and slower regrowth.
Keep gutters clear.
Improve roof ventilation if possible.
If spring moss was heavy, consider a second treatment in fall to prevent thick winter growth.
Check your roof each spring and treat new growth before it gets thick.
Frequently Asked Questions
What is the best time of year to treat moss on a roof?
Treat moss in spring or early fall when the roof is dry and temperatures are mild. Spring treatment catches moss before it spreads during wet seasons. Early fall allows time for treatment to take effect before winter. Avoid treating in heavy rain or freezing conditions—the treatment needs time to work on living moss. Palouse springs bring moisture and shade that accelerate moss growth, so spring is ideal for roof moss treatment here.
Is bleach or vinegar better for roof moss treatment?
Both work, but bleach-based solutions kill moss faster and more reliably. Diluted bleach (typically 1 part bleach to 10 parts water) is widely used for roof moss treatment. Use caution with bleach: wear gloves and eye protection, keep it off your skin, and protect nearby plants and landscaping. White vinegar is gentler on plants below but slower to work. Citrus-based treatments are also effective. The choice depends on your comfort level and what’s growing around your roof. Test any solution on a small area first and protect landscaping from runoff.
Why does moss grow on shaded, north-facing roof slopes?
Moss thrives in shade and damp conditions. North-facing slopes on Palouse roofs stay shaded longer and retain moisture from spring rains and canyon fog. Overhanging tree branches block sunlight and drop debris that holds moisture. These conditions create a perfect environment for moss to establish and spread. If your north-facing slope has nearby trees, trimming branches can reduce future moss growth by increasing air circulation and drying time.
How long does roof moss treatment take to work?
Most treatments begin killing moss within days, but complete die-off typically takes 2 to 4 weeks depending on the product and weather. After treatment, moss turns brown and gradually breaks apart. Don’t expect instant removal—treatment kills the moss, which then needs time to decompose and wash away with rain. During this period, avoid walking on treated areas to prevent slipping on dead moss debris.
If roof moss treatment sounds like more than you want to tackle, we’re here to help. We’ve been treating Palouse roofs since 1987 and understand what our climate does to them. Call or text (208) 882-5641 or send a photo for a free quote.